






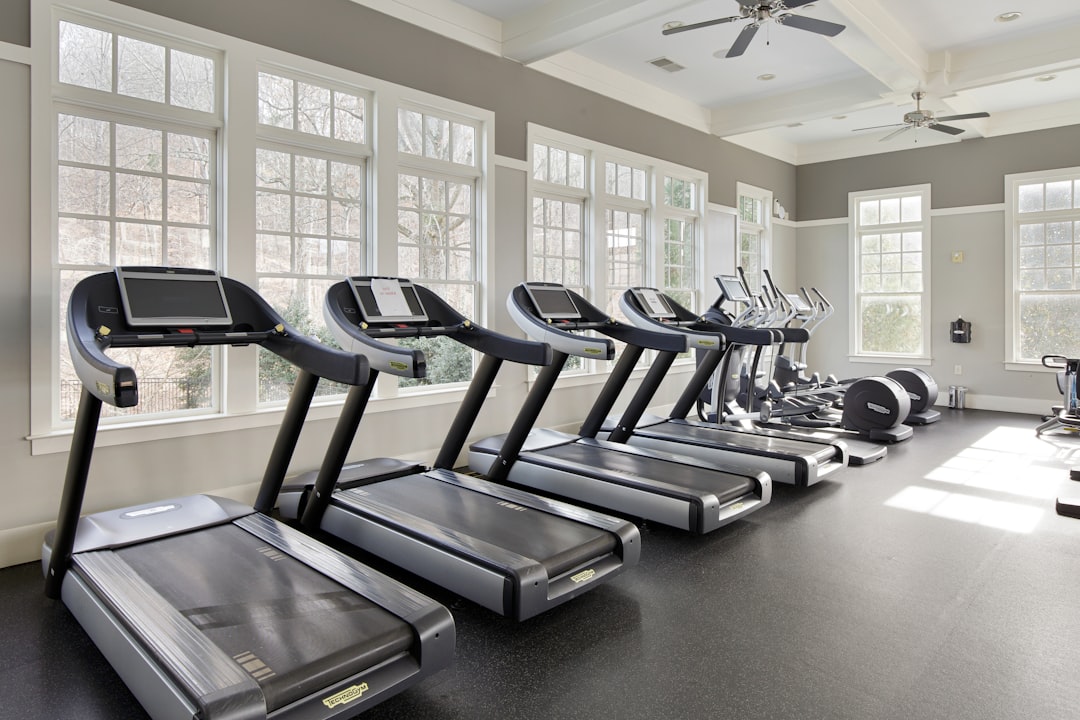
A treadmill belt is a consumable, like tires on a car. It wears out on a fairly predictable schedule, and running on a worn one strains the motor, ruins your footing, and eventually stops the machine mid-session. The good news: a belt rarely fails without warning. This guide covers how long belts actually last, the five wear signs to check every couple of months, and how to decide between replacing the belt and replacing the treadmill.
The Short Answer: Hours, Not Years
Manufacturers and repair techs think in belt hours, not calendar years, because a machine that runs 10 hours a week ages five times faster than one that runs 2. Realistic numbers for home treadmills:
- 300-500 hours for a thin single-ply belt, the type fitted to most budget treadmills and walking pads under 500 USD.
- 500-1,000 hours for a standard two-ply belt on a mid-range home treadmill.
- 1,000+ hours for a heavy two-ply or three-ply belt on a high-end or light-commercial machine, assuming the deck is lubricated on schedule.
Translate that into real life. A walker doing 5 sessions of 45 minutes a week puts in roughly 200 hours a year, so a mid-range belt lasts 3-5 years. A runner training 6 days a week for something like a 12-week marathon prep block can log 300+ hours in a year and should expect to replace the belt noticeably sooner.
That is why tracking your hours beats guessing from the purchase date. If you log every session in Treadmill Pro, your lifetime belt hours are already sitting in your workout history. When the total crosses 500 hours on a budget machine, start doing the inspection below every month instead of every quarter.
One more calendar rule regardless of hours: rubber and PVC degrade with age. A belt older than 7-10 years is due for close inspection even on a lightly used machine, because the backing dries out and cracks on its own.
Five Signs Your Belt Needs Replacing
Check these every 2-3 months. Each takes under a minute, and together they catch nearly every failing belt before it strands you.
- Fraying or curling edges. Look along both sides of the belt. Loose threads, a fuzzy edge, or an edge that lifts and curls upward means the belt structure is breaking down. Small fraying can be trimmed once, but a curling edge only gets worse.
- A worn, glazed, or cracked underside. Unplug the machine, lift the belt edge, and feel the underside. It should feel like textured fabric. If it feels smooth and glassy, the friction layer is gone. Visible cracks in the top rubber surface are an immediate replace signal.
- Discoloration and dark dust. A dark, shiny stripe down the centre of the underside is the classic high-wear pattern. Fine black dust collecting near the rear roller or under the deck is belt material grinding away.
- Slipping that lubrication does not fix. A belt that hesitates under push-off usually just needs silicone or a tension adjustment, and our guide on fixing a slipping treadmill belt walks through both. But if you have lubricated, tensioned, and centred the belt and it still slips within a week or two, the belt itself has stretched or the underside is too worn to grip. Adjustment cannot rescue a stretched belt.
- A hot deck and a louder motor. After a 30-minute session, the deck surface under the belt should be barely warm. If it is hot to the touch, or the motor hum has become noticeably deeper than when the machine was new, friction is climbing. First lubricate the deck. If the heat and noise return quickly, the belt underside is the problem.
Two or more of these at the same time means stop running on it. A belt that lets go at 12 km/h is a genuine injury risk, and the extra current draw can take the motor controller with it, turning a 100 USD belt job into a 300 USD repair.
The Two-Minute Inspection Routine
Make this part of your maintenance rhythm alongside lubrication:
- Unplug the treadmill. Always, before your hands go anywhere near the belt.
- Run your palm over the top surface. You are feeling for thin patches, blisters, or seam ridges. The texture should be even from front to back.
- Lift each edge and inspect the underside at the front, middle, and rear. Compare the centre stripe with the outer edges: a big difference in texture means the wear layer is going.
- Check the seam. Most belts have a diagonal glued seam. If you can feel it click under the rollers or see it lifting, the belt is on borrowed time.
- Spin the belt slowly by hand and watch the edges for straight tracking. A belt that suddenly starts wandering after years of running true has often stretched unevenly.
Log the date somewhere you will see it again. A note in your training log right after a workout works well, so the inspection becomes as routine as the session itself.
What Shortens (and Extends) Belt Life
Two identical treadmills can have belt lifespans that differ by a factor of three. The main variables:
- Lubrication schedule. Nothing else comes close. A dry deck can chew through a belt in a single year. Follow the intervals in our belt lubrication guide: roughly every 3 months or 40 hours for typical home use.
- User weight and running vs walking. Running at 12 km/h loads the belt with impact forces several times body weight. A 95 kg runner wears a belt much faster than a 60 kg walker, which is worth remembering when a budget machine advertises a high user weight limit but ships a single-ply belt.
- Dust and debris. Grit under the belt acts like sandpaper on both belt and deck. Vacuum around and under the machine monthly, and keep the treadmill off thick carpet, which sheds fibres straight into the deck.
- Room conditions. A hot garage or a damp basement both age belts prematurely. Heat dries the backing, moisture attacks the adhesive in the seam.
- Belt alignment and tension. A belt that runs off-centre wears one edge against the frame every single session. Re-centre it as soon as you notice drift, not months later.
Do the basics consistently and a mid-range belt reaches the top of its lifespan range instead of the bottom. That is several years of use for 15 minutes of maintenance per quarter.
Replace the Belt or Replace the Treadmill?
The economics are straightforward once you price the parts:
- A replacement belt costs 60-150 USD for most home machines. Fitting it yourself takes 1-2 hours; a technician typically charges 100-150 USD for the job.
- If the deck surface is also worn (deep grooves, a rough or blistered coating), budget another 100-200 USD. Many decks can be flipped once to expose a fresh surface, which is worth asking about before paying for a new one.
- If the belt failure has already cooked the motor or controller, repair costs jump to 250-500 USD and the maths usually tips toward a new machine.
A reasonable rule: if total repair cost stays under a third of the price of an equivalent new treadmill, and the frame and motor are healthy, replace the belt. A solid mid-range machine with a fresh belt and deck will outlast a new budget treadmill. But a 400 USD walking pad with a worn belt, a tired motor, and a wobbling frame is rarely worth a 150 USD belt job; if you are at that decision point, our comparison of walking pads vs full treadmills is a useful next read before you buy the replacement.
Order the exact belt for your model where possible. Generic belts come in standard widths, but a mismatch of even 1 cm in length changes the tension range, and a too-narrow belt wanders constantly.
If You Decide to Replace It Yourself
The job is very doable with basic tools, and the outline looks like this:
- Unplug the machine and remove the motor hood and both side rails.
- Loosen the rear roller bolts fully and remove the rear roller, then the front roller.
- Unbolt the deck, slide the old belt off, and note its orientation.
- Fit the new belt over the deck, rebolt the deck, and reinstall both rollers.
- Set initial tension so you can lift the belt 5-7 cm at the midpoint, then centre it while running the belt empty at 3-4 km/h.
- Lubricate the deck, walk on it for a few minutes, and fine-tune tension and tracking.
Give yourself two unhurried hours the first time, photograph each step of disassembly, and keep the bolts sorted. If the machine is under warranty, check the terms first: some brands void coverage on self-service.
The Recap
- Think in belt hours: 300-500 for budget belts, 500-1,000 for mid-range, 1,000+ for heavy multi-ply belts.
- Inspect every 2-3 months for fraying edges, a glazed underside, black dust, persistent slipping, and a hot deck.
- Lubrication is the single biggest factor in belt lifespan. Keep the schedule and the belt reaches old age; skip it and nothing else matters.
- Replace the belt when repair costs stay under about a third of a new machine’s price and the motor is healthy. Otherwise put the money toward a better treadmill.
- Track your hours instead of guessing. A session log in Treadmill Pro turns “I think it has been a while” into an exact number, and maintenance decisions get easy when the mileage is in front of you.
A treadmill belt does not fail on a schedule you can ignore, but it does fail on one you can see coming. Check it before it checks out.